


CostanzinaTable
designed by Paolo Rizzatto
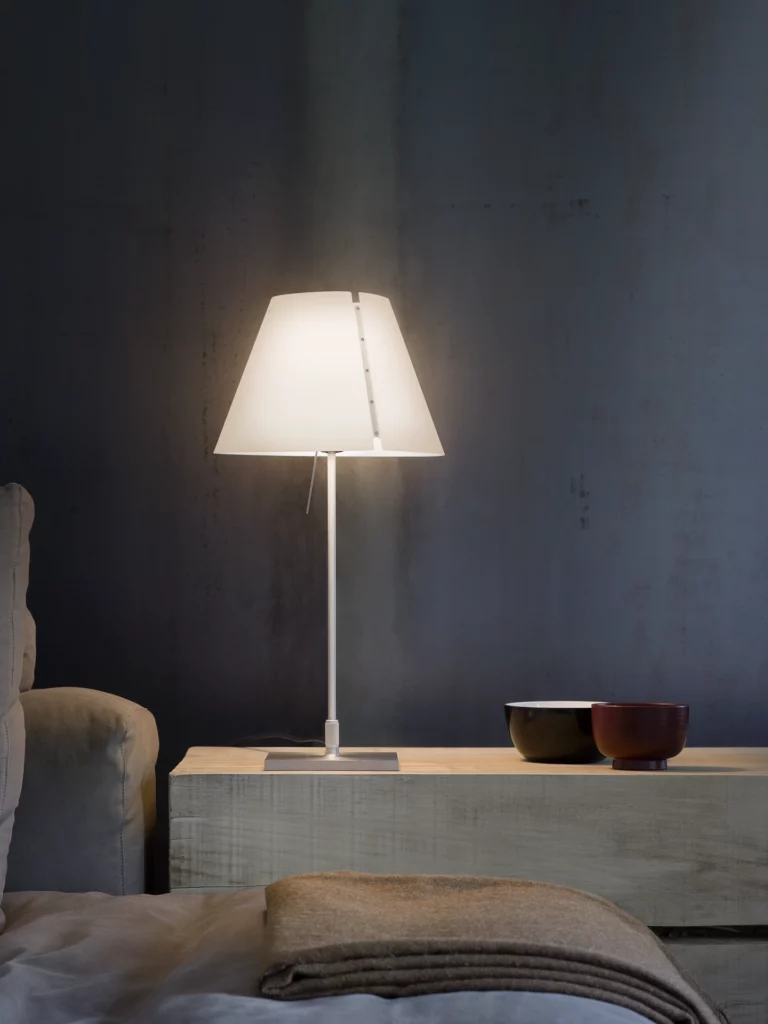
A discrete but solid presence, Costanzina can be easily positioned in any room, without stylistic limitations. The polycarbonate shade balances on just two points of the aluminium structure. If bumped, the shade can swing but doesn’t fall.
The colored polycarbonate shade adds personality to any setting. The control rod is positioned close to the light source.


D13pi D13pic.LED
Costanzina with base

D13pi D13pic.LED
Costanzina with base
Main specifications
| Typology | Table | ||||||
|---|---|---|---|---|---|---|---|
| Application | Indoor | ||||||
| Material |
|
||||||
| Finishes |
|
||||||
| Dimensions (mm) | H 510, L 140, W 140, D shade ø 260 | ||||||
| Weight (kg) | 0.82 | ||||||
| Light Source | LED E14, 42W HSGSA E14 | ||||||
| Insulation Class | II |
D13pipt
Costanzina fixing pin

D13pipt
Costanzina fixing pin
Main specifications
| Typology | Table | ||||
|---|---|---|---|---|---|
| Application | Indoor | ||||
| Material |
|
||||
| Finishes |
|
||||
| Dimensions (mm) | H 510, W max thickness 57, D shade ø 260 | ||||
| Weight (kg) | 0.45 | ||||
| Light Source | LED E14, 42W HSGSA E14 | ||||
| Insulation Class | II |
You might be also interested in


