AscentTable
designed by Daniel Rybakken
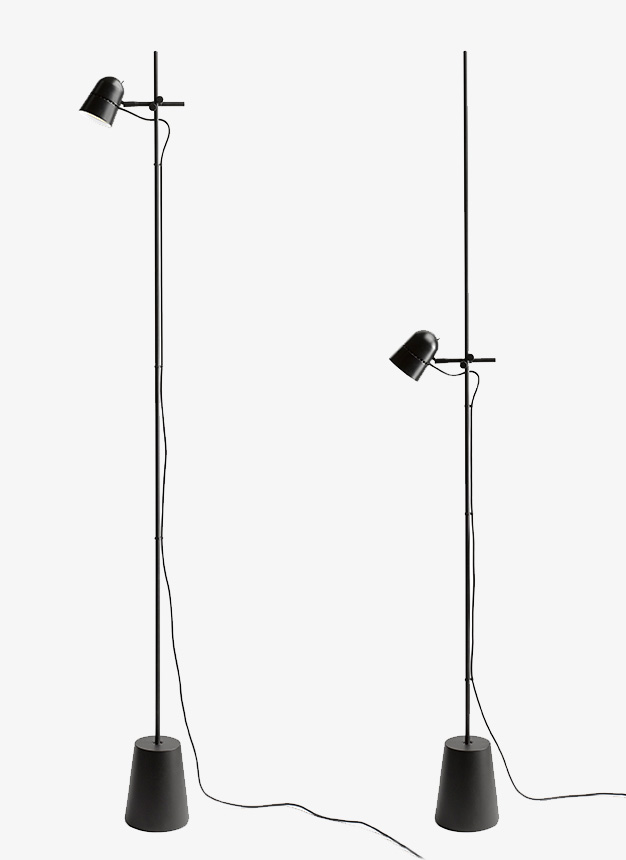
Intimate, conceptual, Ascent provides infinite shadings of light intensity, thanks to the very precise axial dimmer controlled by electronics mounted inside the shade. Circuits on the stem send input to a microprocessor that reacts to the vertical movement, adjusting light flow.
Sliding the reflector up and down the slender stem, you can turn the lamp on and off and adjust lighting intensity.


D78
Ascent with base

D78
Ascent with base
Main specifications
| Typology | Table | ||
|---|---|---|---|
| Application | Indoor | ||
| Material |
|
||
| Finishes |
|
||
| Dimensions (mm) | H 650, L 170, W 170, D head 90 | ||
| Weight (kg) | 1.77 | ||
| Light Source | 11W, 2700K, CRI 90 | ||
| Insulation Class | III |
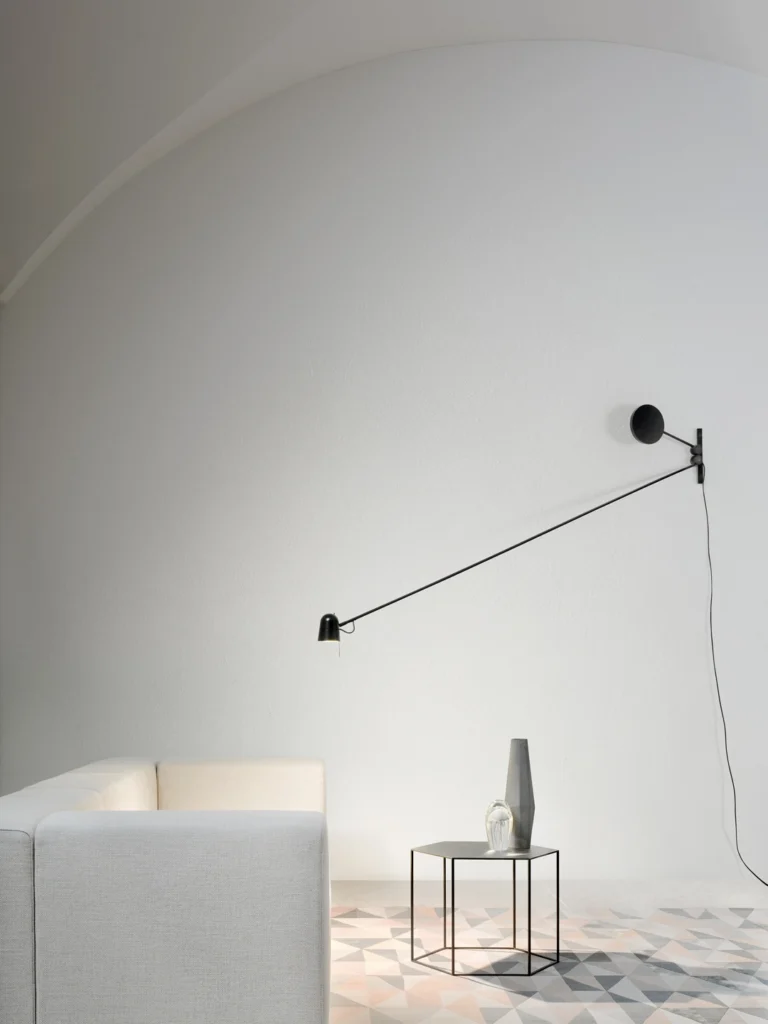
D78pt
Ascent fixing pin

D78pt
Ascent fixing pin
Main specifications
| Typology | Table | ||
|---|---|---|---|
| Application | Indoor | ||
| Material |
|
||
| Finishes |
|
||
| Dimensions (mm) | H 650, D head 90 | ||
| Weight (kg) | 0.72 | ||
| Light Source | 11W, 2700K, CRI 90 | ||
| Insulation Class | III |
Get inspired

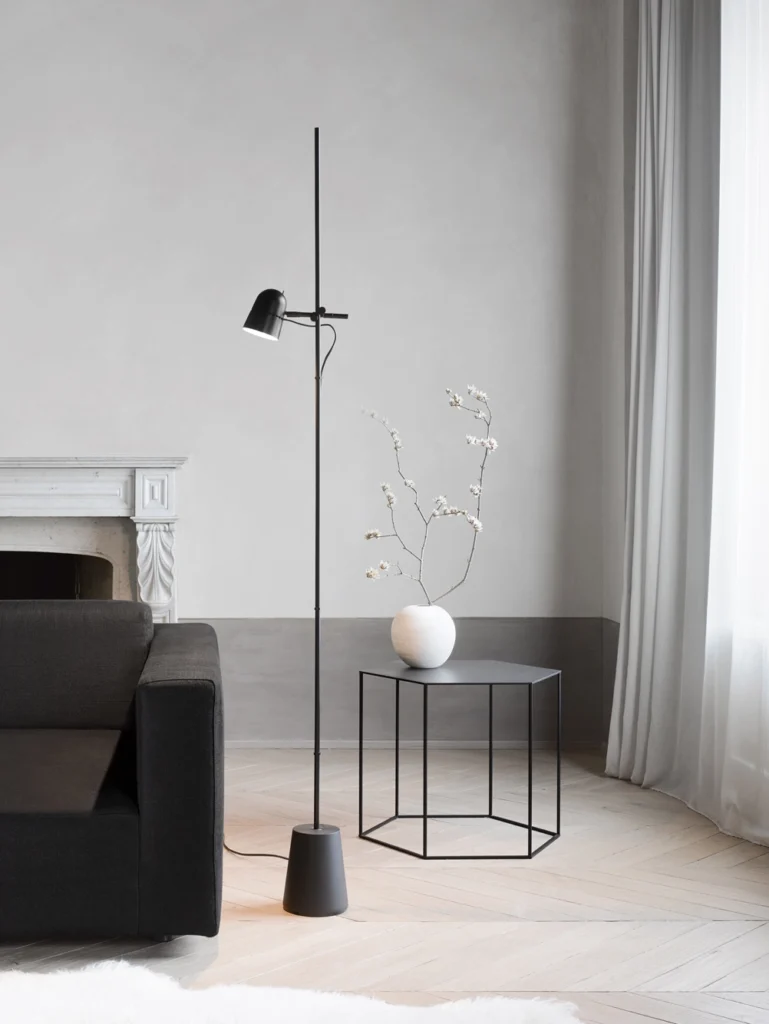
Ascent provides the ideal ligtht on the tables. Thanks to an ingenious dimmer inside the diffuser, the intensity of the light can be adjusted by sliding the head vertically on the stem – up for brighter, down for darker.
Essential in image, sophisticated in its technology, conceptual in its way of expressing an idea about light, Ascent is an object that adapts to different contexts, enhancing the ambience and creating the proper lighting scenario.

You might also interested in