Projects
Stavros Niarchos Foundation Cultural Centre

1/5

2/5

3/5

4/5

5/5
| Location | Athens, Greece |
|---|---|
| Designer | Renzo Piano Building Workshop, SALINI-impregilo-TERNA |
| Date | 2016 |
| Photo credits | @SNF/Yiorgis Yerolymbos |
For the Stavros Niarchos Foundation Cultural Center in Athens, the facility designed by Renzo Piano Building Workshop, Luceplan has supplied 150 Grande Costanza floor and suspension lamps with white shades, to enhance and bring harmony to a space that will be a repository of Greek cultural heritage.
Products in use
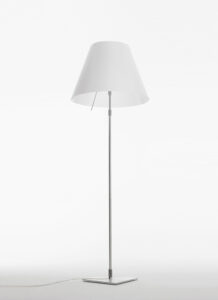
Grande Costanza Floor,
Designed by Paolo Rizzatto
Grande Costanza Suspension,
Designed by Paolo Rizzatto