Designers
Daniel Rybakken


1/2
2/2
Born in 1984, Daniel Rybakken grew up in Oslo, Norway. He studied design at the Oslo School of Architecture and the School of Arts & Crafts in Gothenburg, Sweden. On graduating with a Master of Fine Arts in 2008 he opened his own design studio in both Oslo and Gothenburg.
Rybakken has received numerous awards, including the ‘Best of the Best’ Red Dot Award in Singapore, 2007; the Anders Jahre’s Cultural Prize for Young Artists in Oslo, 2008; and the Design Report Award for best designer at Salone Satellite in Milan, 2009.
The work of Daniel Rybakken occupies the area between art and design, forming limited editions, art installations and prototypes for serial production. His main focus has been to work with daylight and how to artificially recreate its appearance and subconscious effect.
Related products

Amisol Suspension,
Designed by Daniel Rybakken
Ascent Table,
Designed by Daniel Rybakken
Cassette Ceiling Wall,
Designed by Daniel Rybakken
Compendium Floor,
Designed by Daniel Rybakken
Compendium Suspension,
Designed by Daniel Rybakken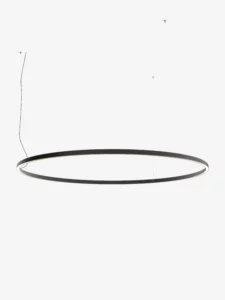
Compendium Circle Suspension,
Designed by Daniel Rybakken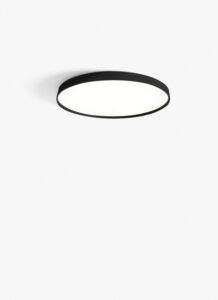
Compendium Plate Ceiling Wall,
Designed by Daniel Rybakken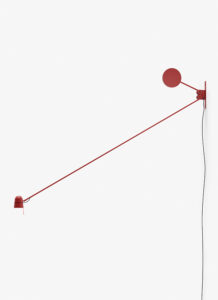
Counterbalance Wall,
Designed by Daniel Rybakken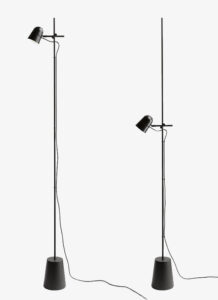
Counterbalance Floor Floor,
Designed by Daniel Rybakken
Counterbalance Spot Ceiling Wall,
Designed by Daniel RybakkenFienile Suspension,
Designed by Daniel Rybakken
Fienile Table,
Designed by Daniel Rybakken
Fienile Outdoor Floor,
Designed by Daniel Rybakken
Millimetro Suspension,
Designed by Daniel Rybakken
Millimetro Wall,
Designed by Daniel Rybakken
Stochastic Suspension,
Designed by Daniel Rybakken