

LitaTavolo
designed by David Dolcini
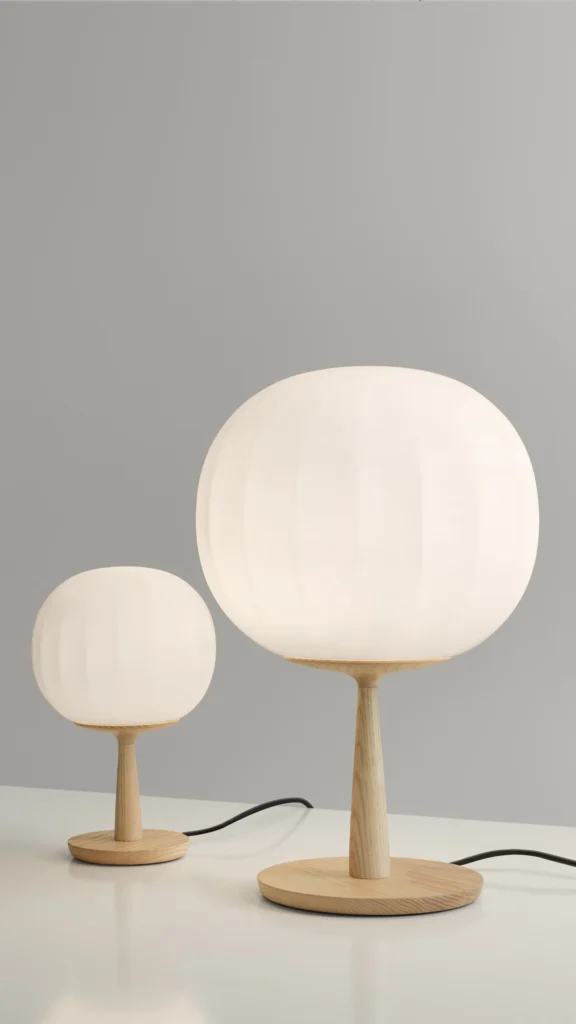
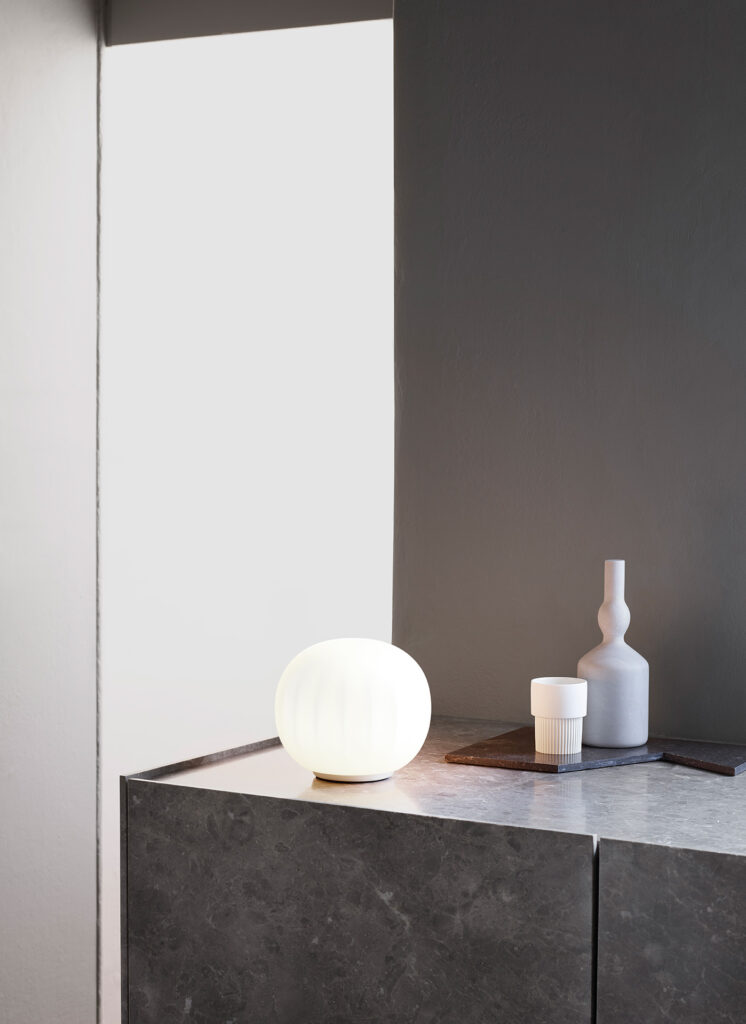
Lita è una lampada decorativa estremamente versatile, frutto di un delicato processo progettuale che mescola iconografie, segni, texture geometriche e materiali naturali.
Il diffusore in vetro soffiato opalino – la cui superficie è scandita dalla ripetizione di lievi cuspidi verticali che svaniscono ai poli – si sposa con la struttura in legno, rendendo Lita un prodotto dalla forte componente materica.
Lita è disponibile con una finitura ottone per la struttura che aggiunge un tocco raffinato al prodotto.


D92V14
Lita ø 14 cm – appoggio

D92V14
Lita ø 14 cm – appoggio
Specifiche principali
| Typology | Tavolo | ||
|---|---|---|---|
| Application | Interno | ||
| Material |
|
||
| Finishes |
|
||
| Dimensions (mm) | H 130, D ø 140 | ||
| Weight (kg) | 0.92 | ||
| Light Source | max 4W LED G9 ( max h.70mm) | ||
| Insulation Class | II |
D92V18
Lita ø 18 cm – appoggio

D92V18
Lita ø 18 cm – appoggio
Specifiche principali
| Typology | Tavolo | ||||
|---|---|---|---|---|---|
| Application | Interno | ||||
| Material |
|
||||
| Finishes |
|
||||
| Dimensions (mm) | H 160, D ø 100 | ||||
| Weight (kg) | 0.92 | ||||
| Light Source | max 4W LED G9 ( max h.70mm) | ||||
| Insulation Class | II |
D92V30
Lita ø 30 cm – appoggio

D92V30
Lita ø 30 cm – appoggio
Specifiche principali
| Typology | Tavolo | ||||
|---|---|---|---|---|---|
| Application | Interno | ||||
| Material |
|
||||
| Finishes |
|
||||
| Dimensions (mm) | H 260, D ø 150 | ||||
| Weight (kg) | 0.92 | ||||
| Light Source | max 16W LED E27 | ||||
| Insulation Class | II |
D92=18
Lita ø 18 cm – struttura tavolo

D92=18
Lita ø 18 cm – struttura tavolo
Specifiche principali
| Typology | Tavolo | ||||
|---|---|---|---|---|---|
| Application | Interno | ||||
| Material |
|
||||
| Finishes |
|
||||
| Dimensions (mm) | H 280, L ø 120 (base), D ø 120 (diffuser) | ||||
| Weight (kg) | 0.83 | ||||
| Light Source | max 4W LED G9 ( max h.70mm) | ||||
| Insulation Class | II |
D92=30
Lita ø 30 cm – struttura tavolo

D92=30
Lita ø 30 cm – struttura tavolo
Specifiche principali
| Typology | Tavolo | ||||
|---|---|---|---|---|---|
| Application | Interno | ||||
| Material |
|
||||
| Finishes |
|
||||
| Dimensions (mm) | H 460, L ø 200 (base), D ø 200 (diffuser) | ||||
| Weight (kg) | 1.15 | ||||
| Light Source | max 70W LED E27 | ||||
| Insulation Class | II |
Prodotti correlati


