

CompendiumSospensione
designed by Daniel Rybakken
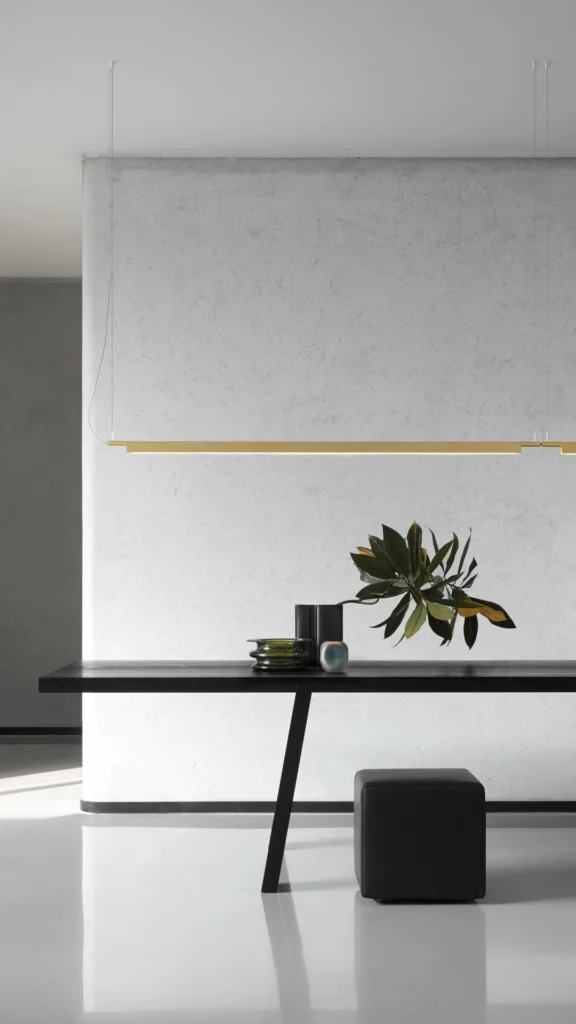
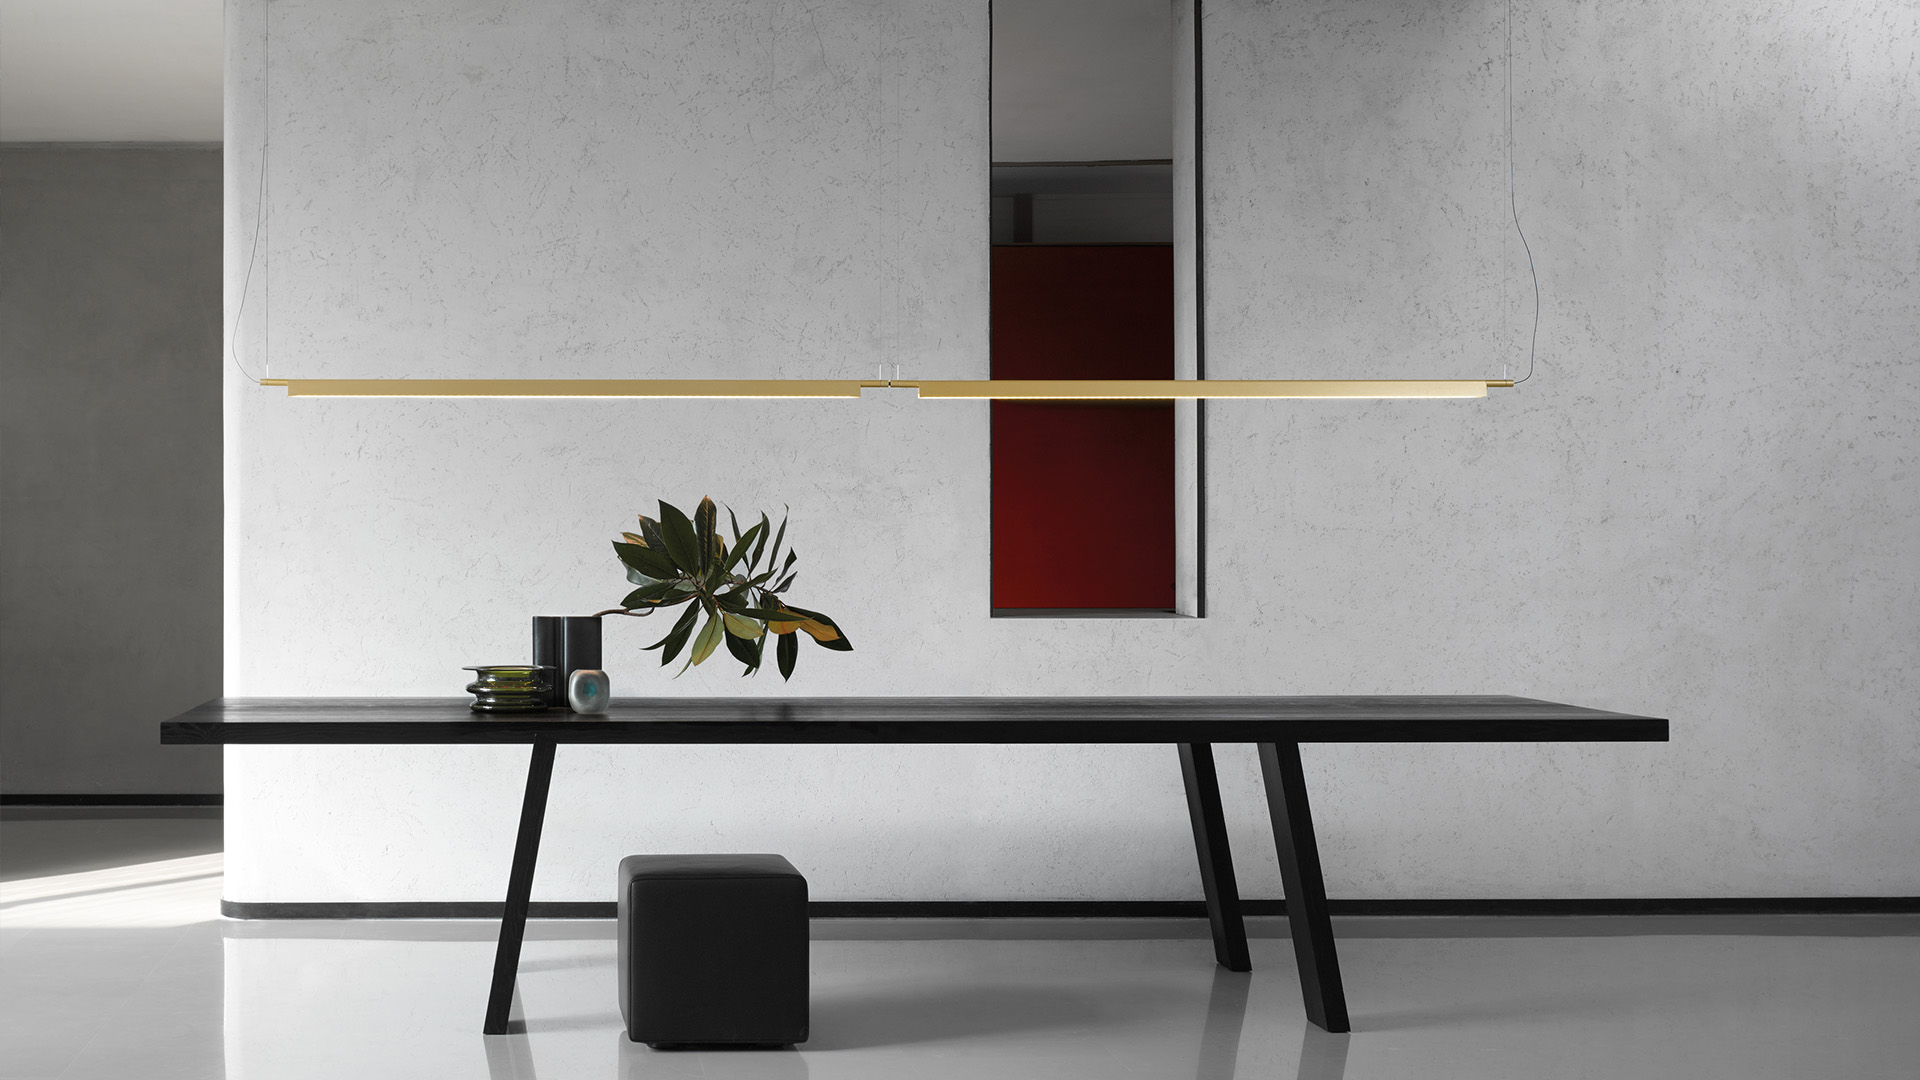
Compendium sospensione è una lampada essenziale ed elegante che diffonde in maniera efficace un’elevata quantità di luce sui piani. Compendium sospensione è una lampada versatile che può essere utilizzata sia a luce diretta verso il basso che indiretta verso l’alto, ruotando il riflettore, al momento dell’installazione. Dimmerabile a parete.
Modelli
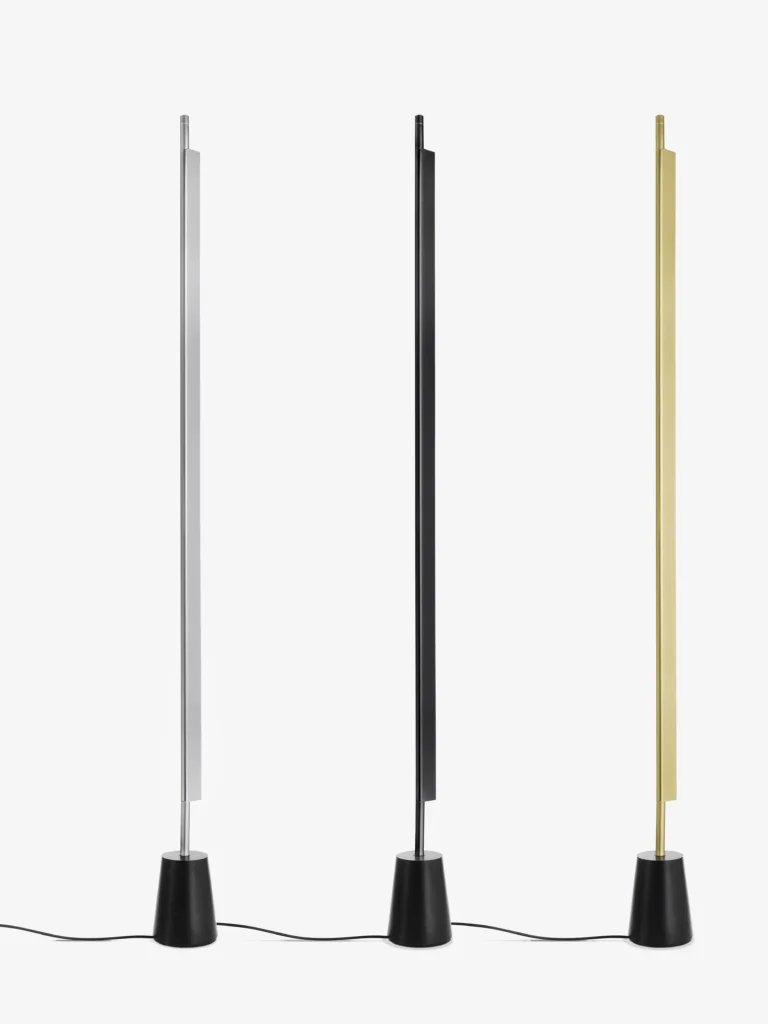
D81BW2 D81B2
Compendium
D81BW2 D81B2
Compendium
Specifiche principali
| Typology | Sospensione | ||||||
|---|---|---|---|---|---|---|---|
| Application | Interno | ||||||
| Material |
|
||||||
| Finishes |
|
||||||
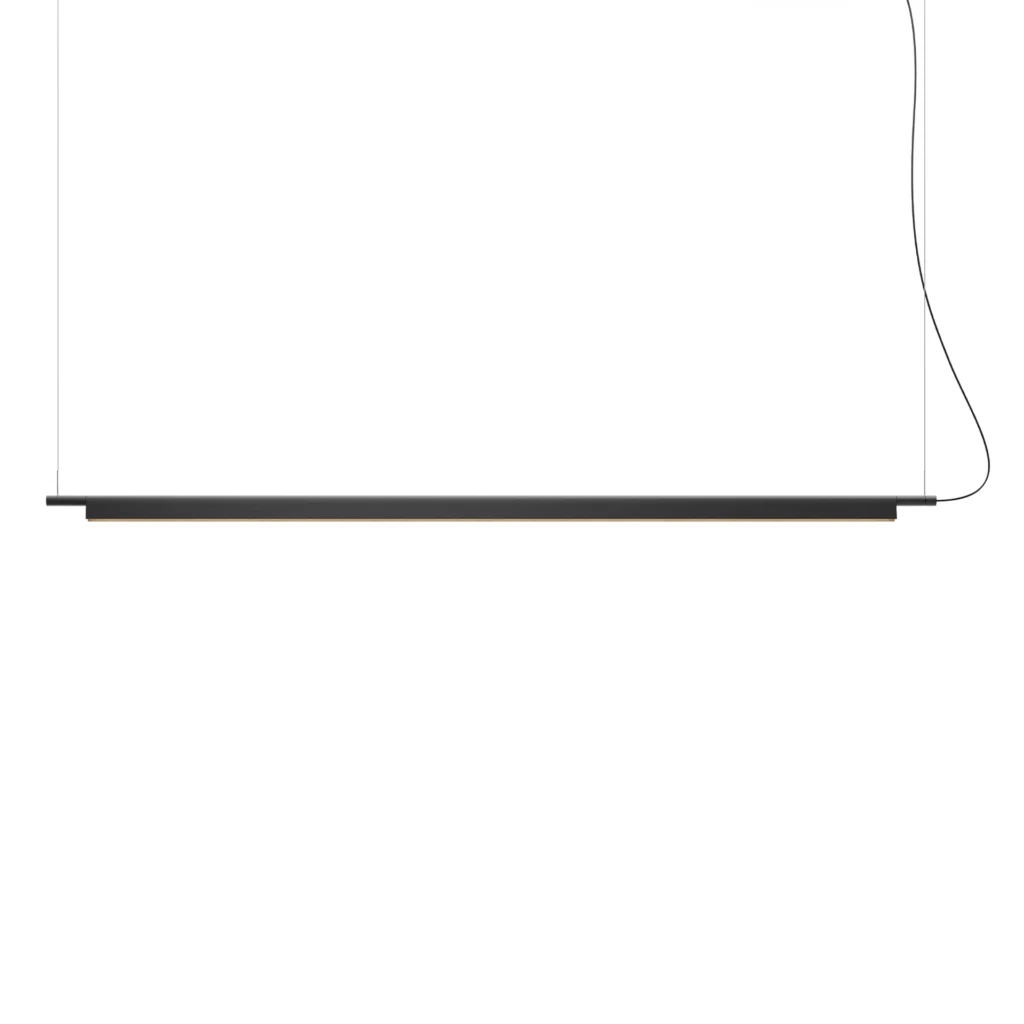
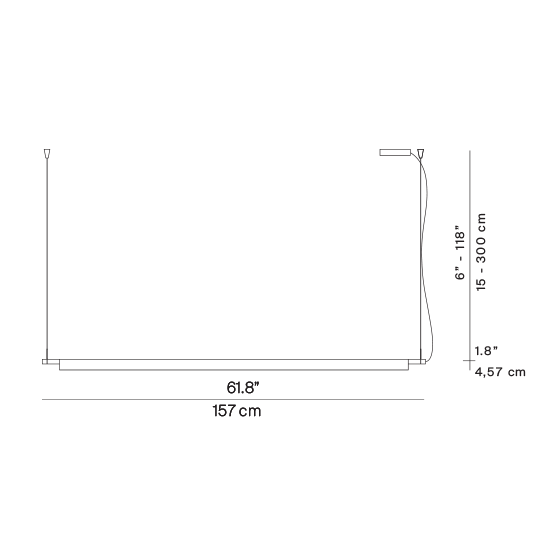
| Dimensions (mm) | H cable min 150 – max 3000, h 45, L 1570 | ||||||
| Weight (kg) | 3.1 | ||||||
| Light Source | 33W (only light source – for more details, download datasheet), 2700K, 3000K, CRI 90 | ||||||
| Insulation Class | III |
Download
Accessorio
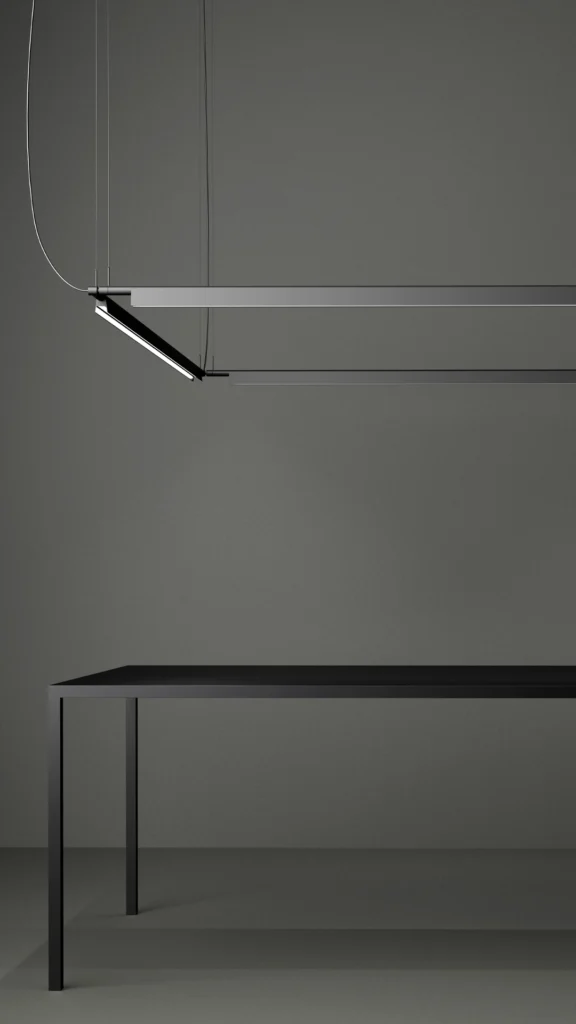
Mediante l’utilizzo di giunti linerari e a T è possibile realizzare composizioni multiple.

Get inspired


Prodotti correlati